
A high-quality baseball or softball glove is one of the most important investments an athlete can make in their game.
No glove alone will make you a better defender, but the right glove for your position, properly broken in, builds comfort and confidence in the field. Consistent plays follow from that.
That consistency comes at a price: many gloves cost hundreds of dollars, and even "budget" mitts with decent leather run $150–$200. That's why players and parents should know how to care for this equipment, starting with breaking in a new glove the right way.
Why Do Baseball Gloves Need Breaking In?
Leather is prized for its durability and resistance to wear. But leather fresh from the manufacturer is stiff and hard to work, and new gloves are no exception.
If you've ever played catch with a brand-new mitt, you know the feeling: the glove barely closes and the ball bounces off the leather like a rock.
Gloves made from genuine leather (such as cowhide or steerhide) need to be softened deliberately. Depending on the grade of leather, that can take days or weeks.
Before You Start
A tip from former pro players: only let your hand go inside your glove. Leather molds to the hand that wears it, and you want it shaped to yours alone so it feels like an extension of your arm.
Also decide how you'll wear the glove (finger out, double index finger, etc.) before you begin, since the leather will form around that position.
What you'll need:
- A glove mallet
- A 3–5 pound dumbbell or weight
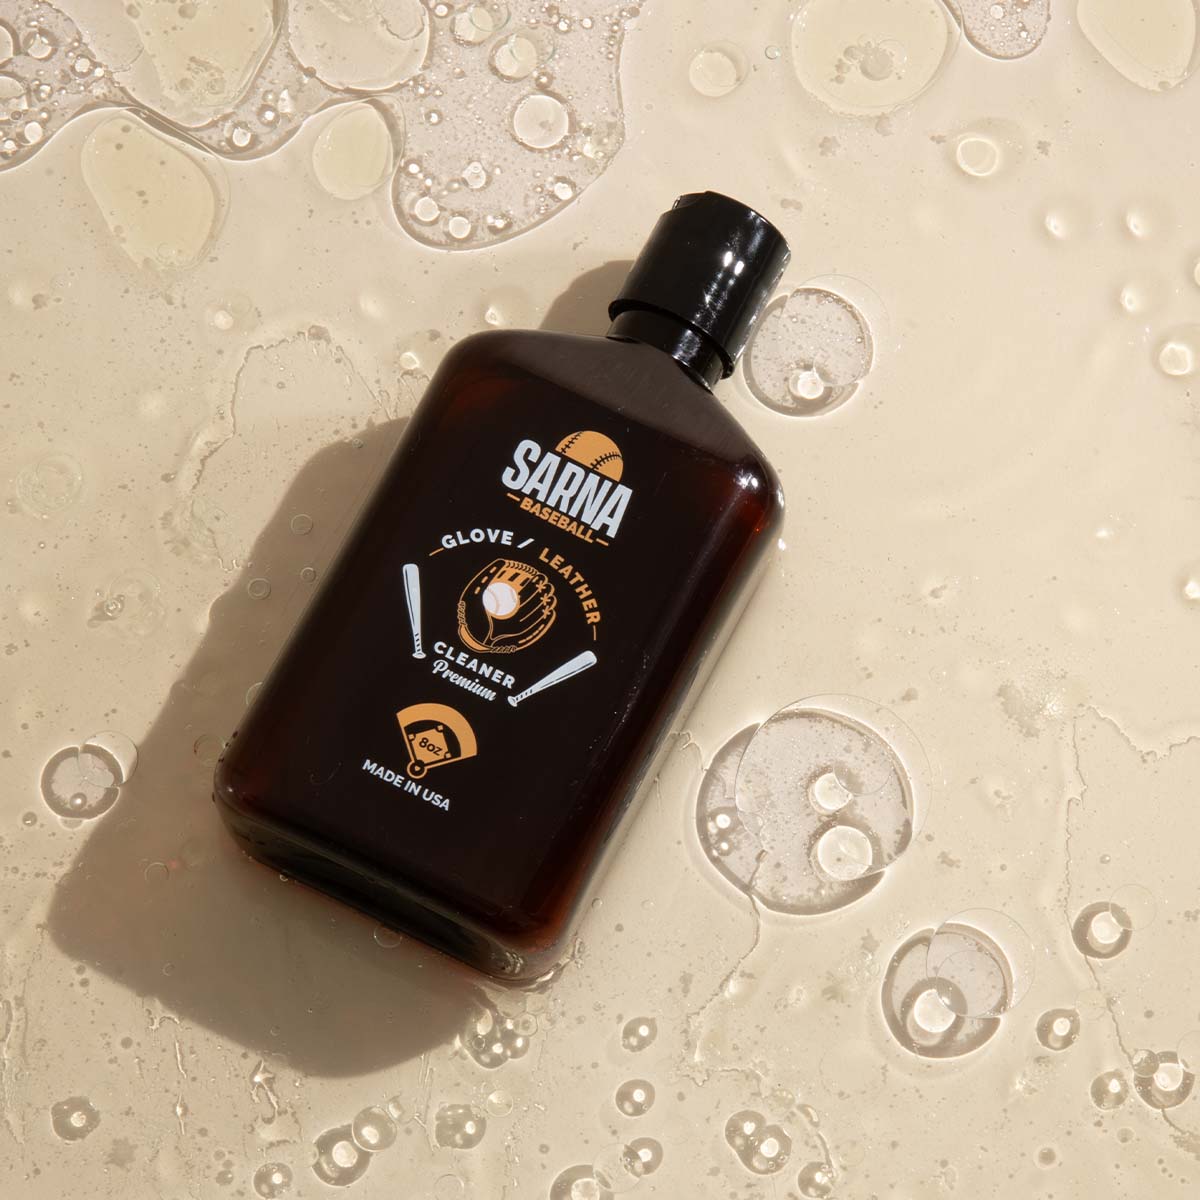
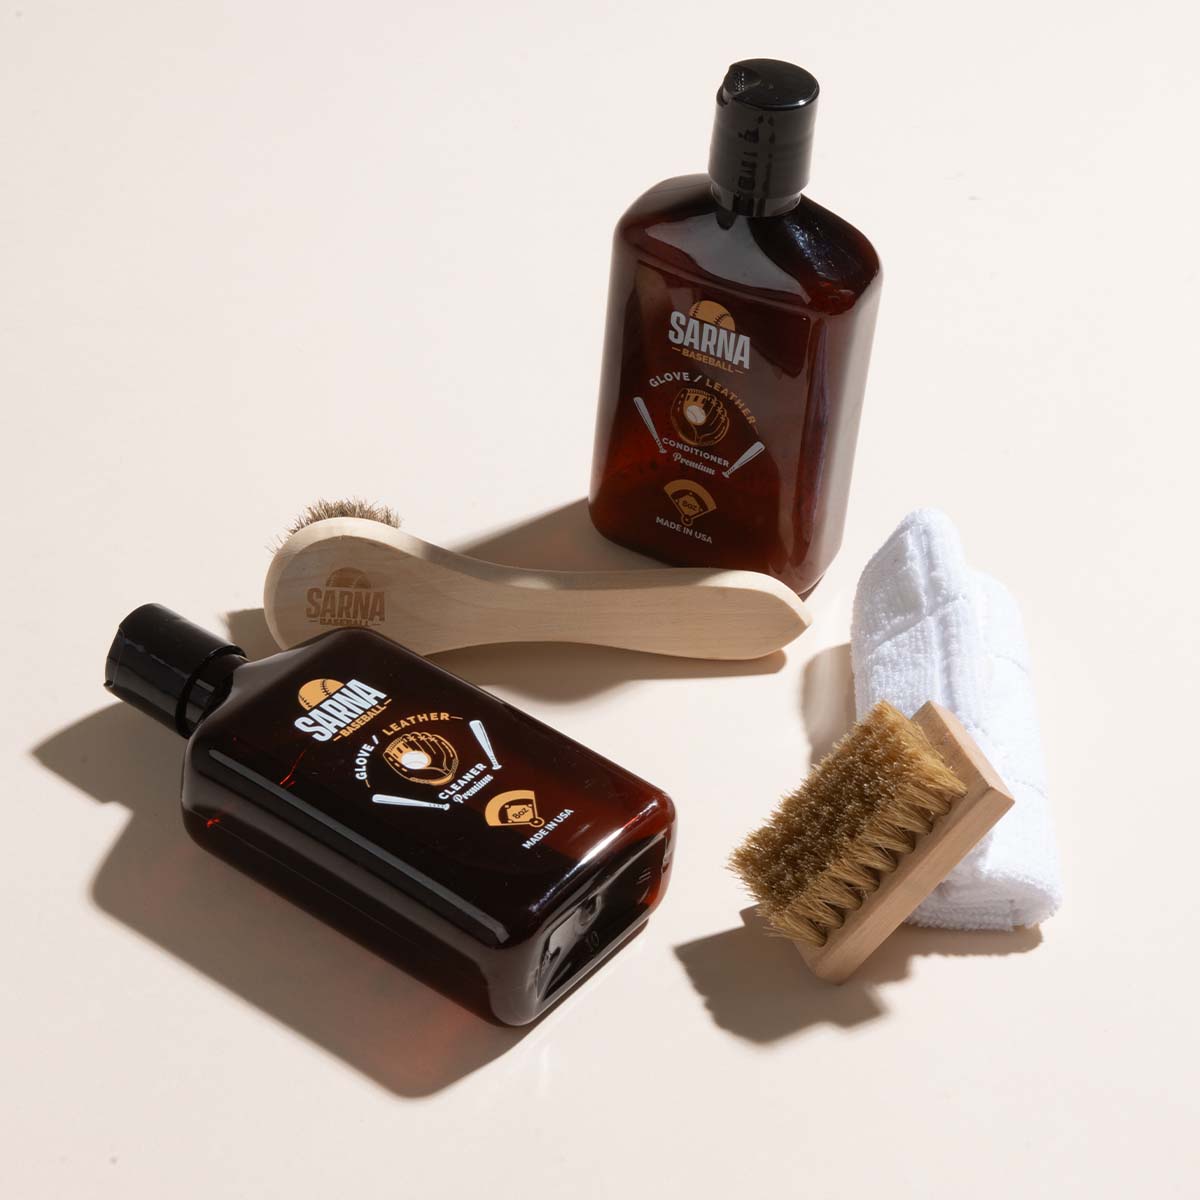
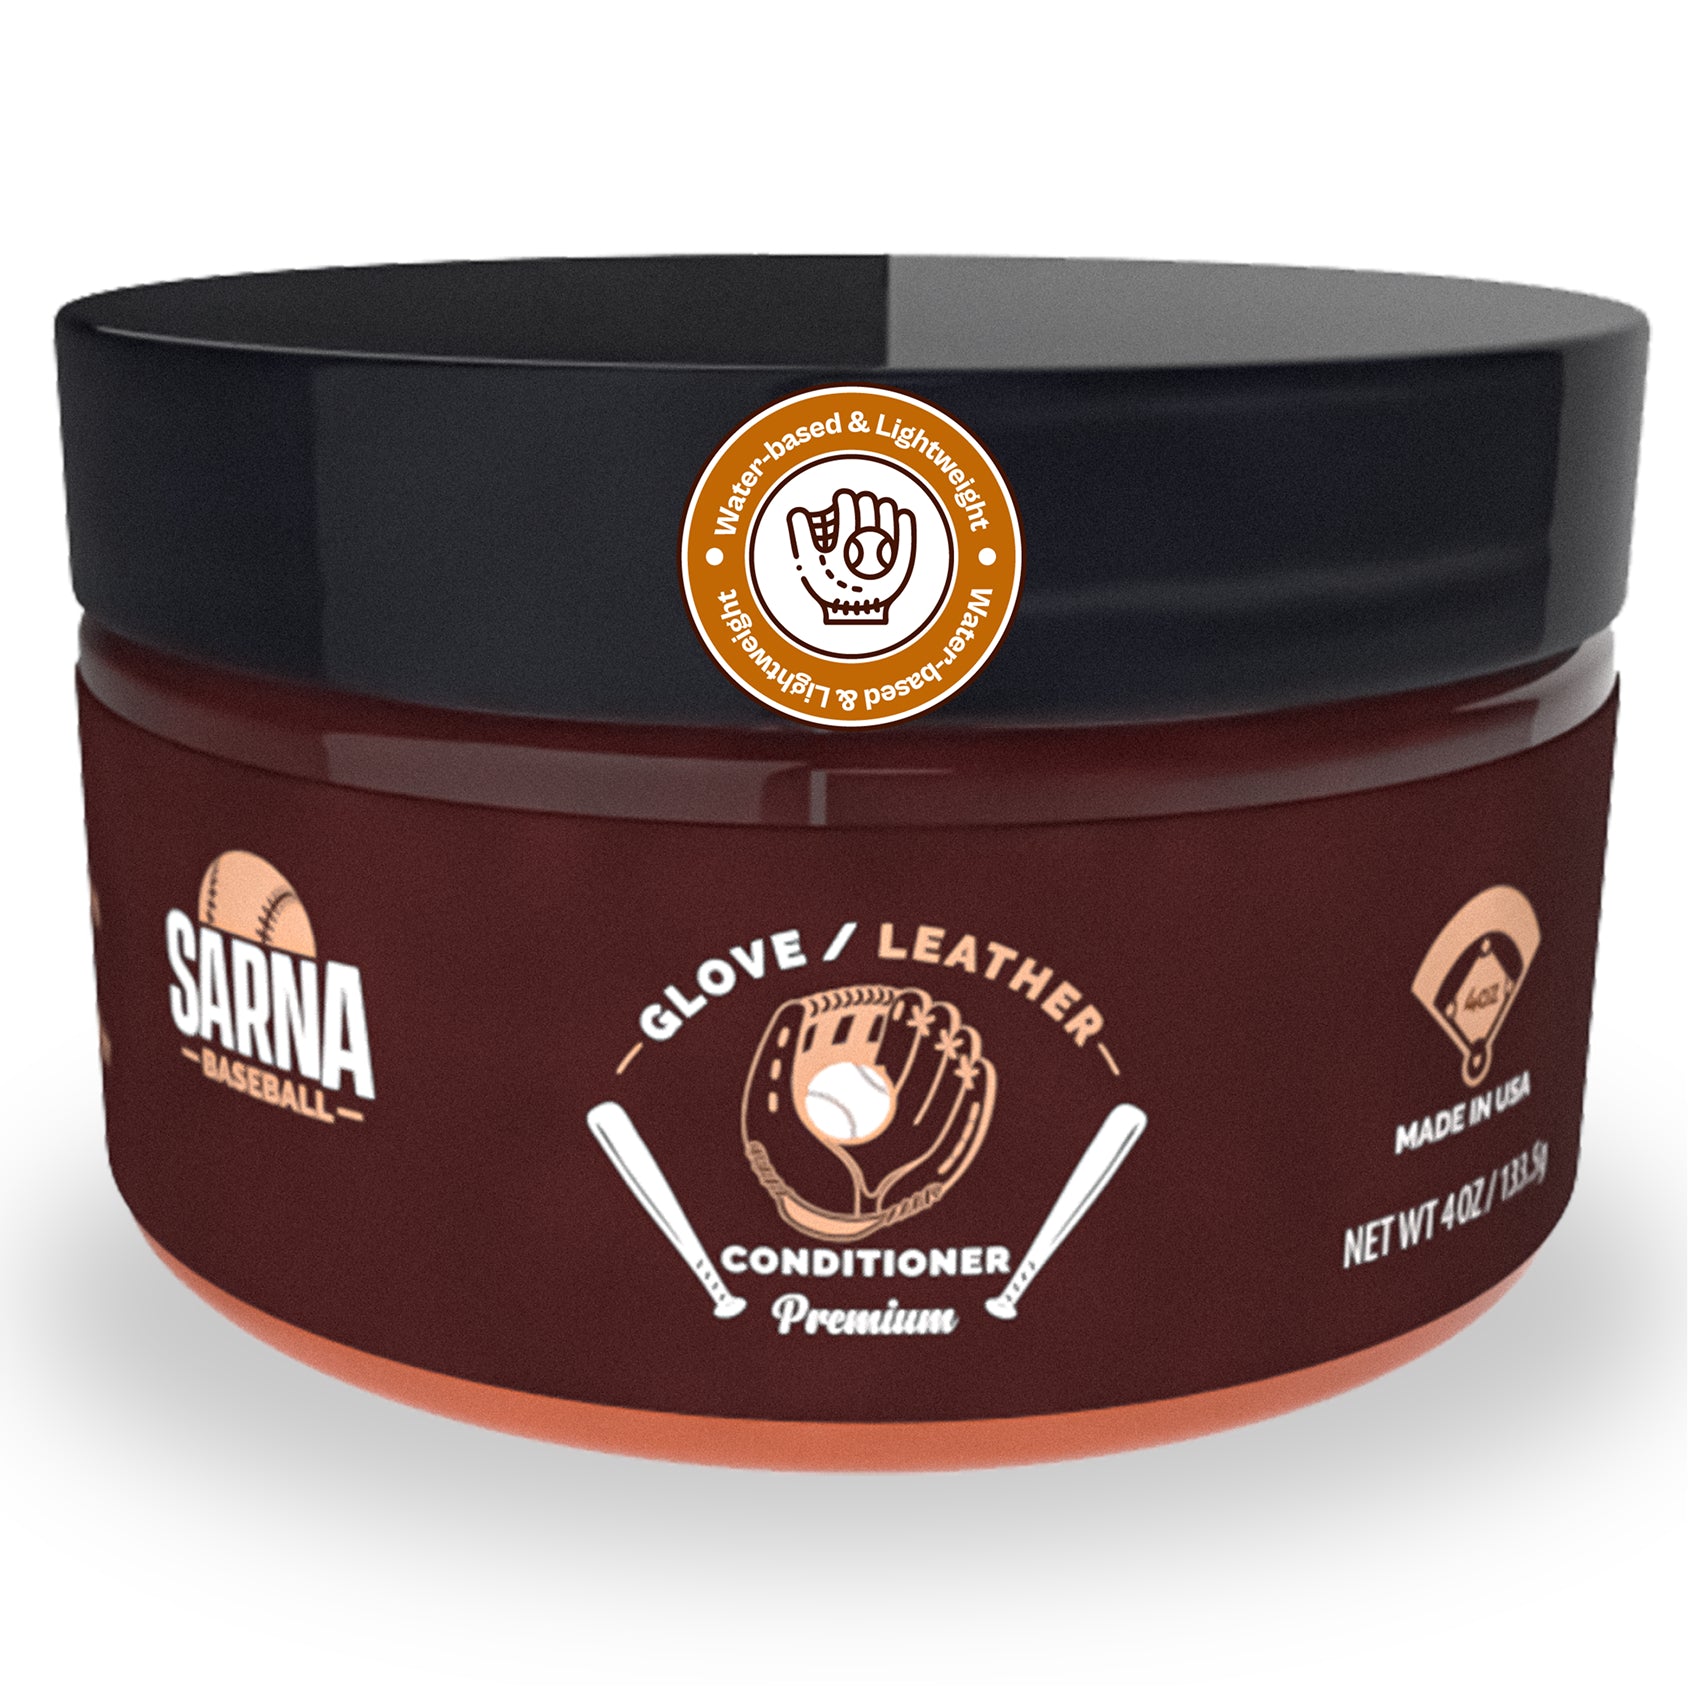
- A quality glove conditioner, such as Sarna Glove Conditioner Cream
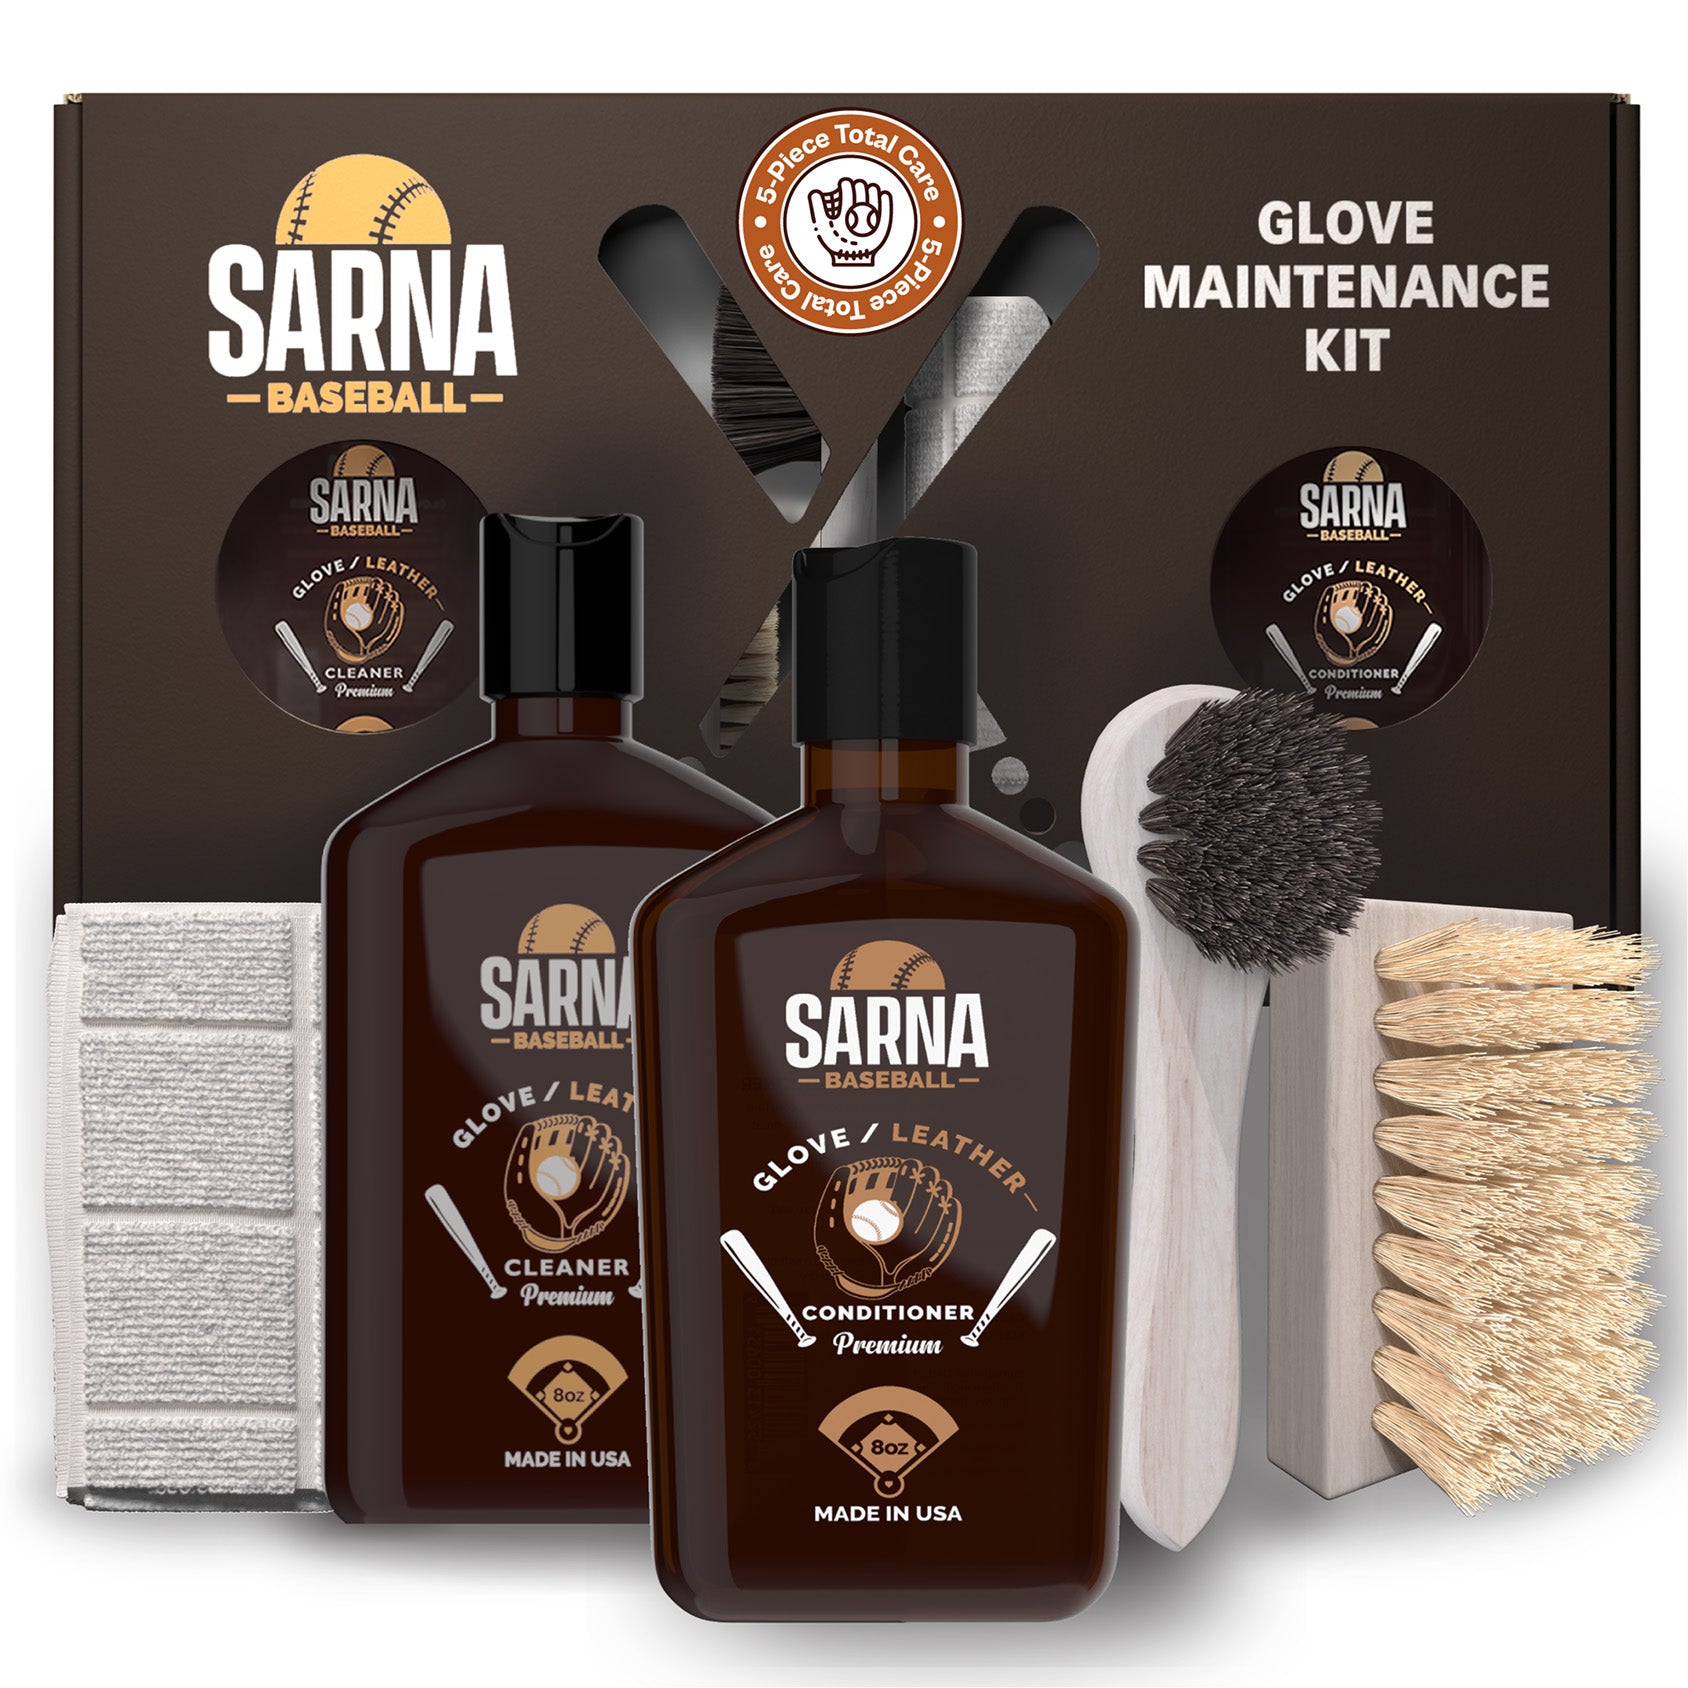
Want everything in one box? The Sarna Glove Break-In Kit has what you need to get started.
How to Break In a Glove, Step by Step
Follow along with Ball Glove King's video, which walks through the process we recommend:
- Loosen the heel. Start at the heel of the glove (where your hand enters). It's laced with stiff material and has the thickest leather. Strike the seam with the end of your dumbbell, changing the angle and bend as you go.
- Work the rest of the glove. Once the heel feels looser, do the same to the palm, the pocket and the back of the glove.
- Do "rollovers" with the mallet. Wearing the glove, smack the pocket with the mallet as if catching a ball. As it makes contact, close the glove, press it against the ground and roll it shut. A baseball works if you don't have a mallet.
- Shape the pocket. Repeatedly catch and squeeze a ball in the pocket so it forms a deep pocket that suits your position.
- Condition the leather. Finish by working Sarna Conditioner Cream into the leather. Keeping it conditioned matters for the break-in and for keeping the glove healthy for years.
- Keep playing catch. Nothing replaces real use. Bring the glove to practice and toss with a friend so the leather forms to your hand's shape and movements.
Supplementary Methods
Glove Wrapping
Wrapping is one of the most traditional break-in methods. There are two schools of thought (with and without a ball), but we recommend always wrapping with a ball in the pocket.
- Close the glove with a ball in the pocket, making sure the thumb and pinky touch.
- Wrap the glove with string, elastic, rubber bands or anything else that holds it closed.
- Let it sit for a couple of days, and repeat if needed.
This lets the leather stretch and form around the ball, making the glove easier to close and more flexible.
Glove Conditioners
Conditioner can be used before, during and after the break-in process, and it's just as important for ongoing maintenance.
First rule: never use household products like Vaseline, petroleum jelly, lip balm or olive oil. They can dry the leather out or leave it greasy and heavy.
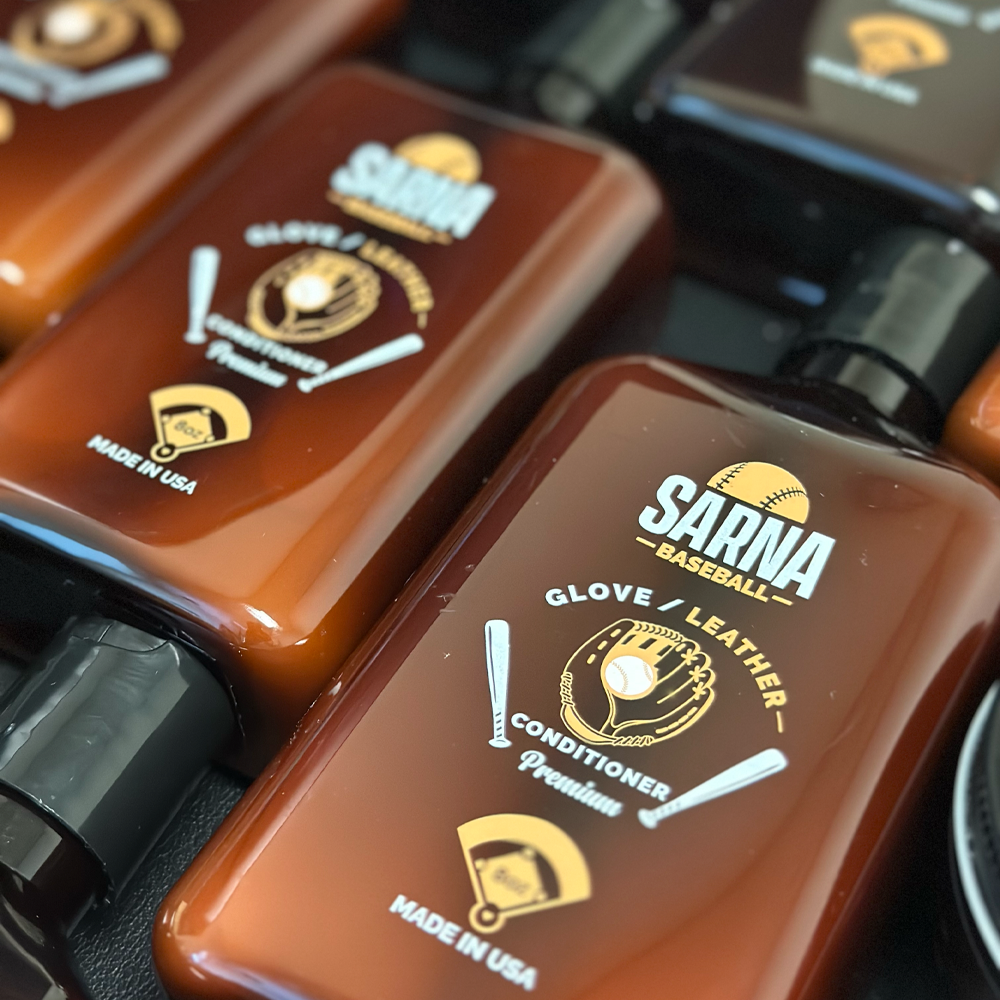
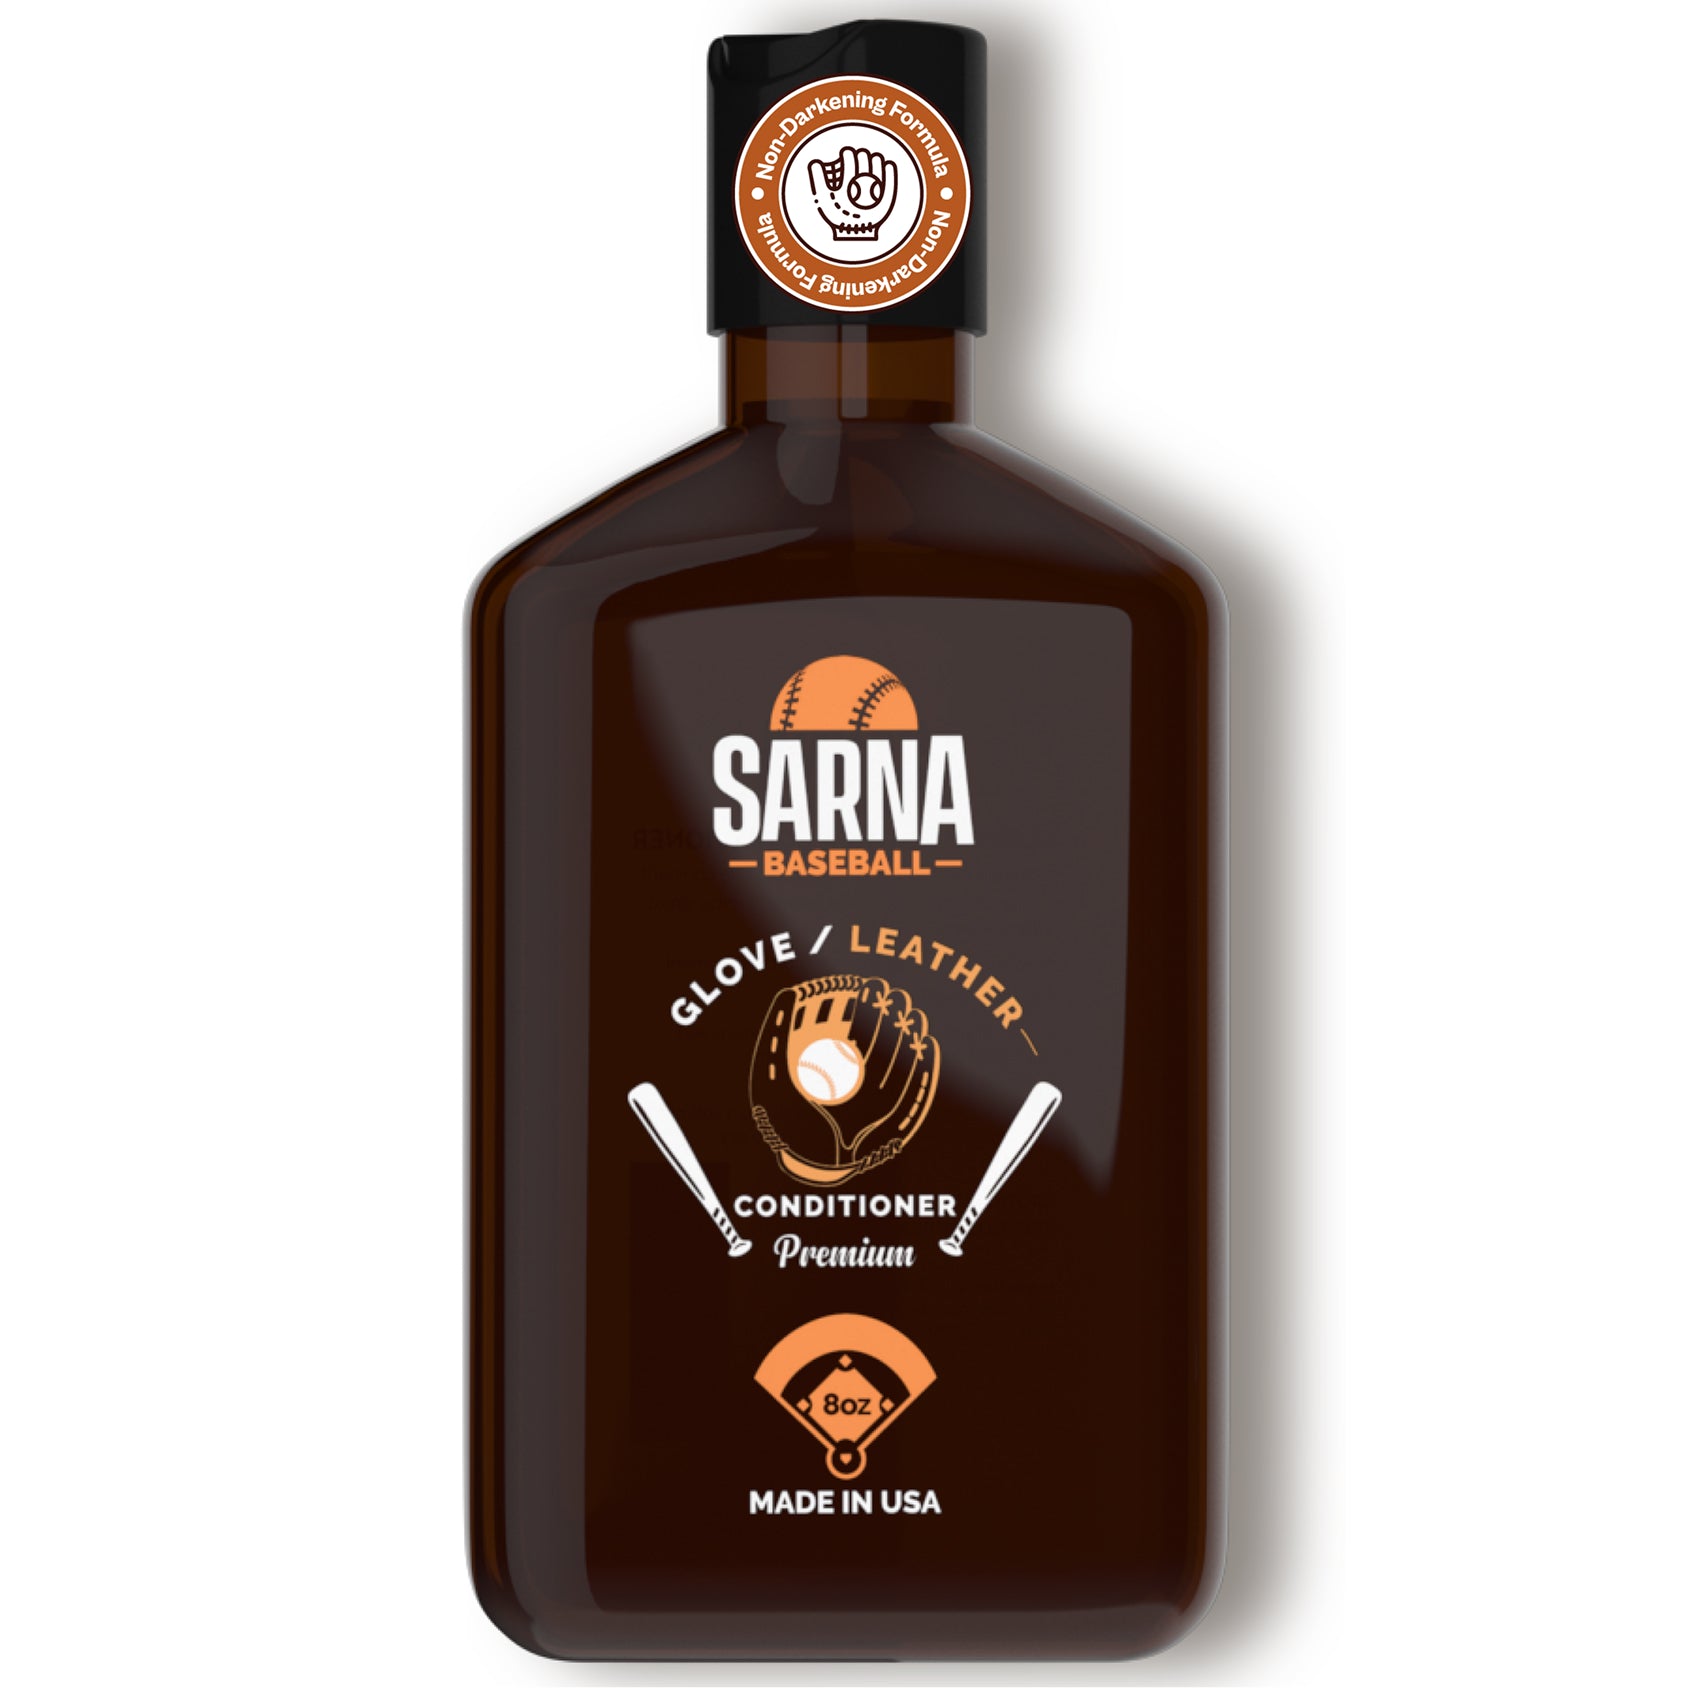
Skip heavy glove oils and waxes, too. They build up in the leather, clog its pores, darken it and weigh the glove down, which can ruin a good break-in. Read glove oil vs. glove conditioner to learn why. Instead, we recommend Sarna's conditioners, made without heavy oils or waxes:
Apply a thin layer over the whole glove and rub it in with a soft cloth, then add small amounts only where the leather still feels stiff or dry.
Generally avoid conditioning the webbing. It's thinner leather than the body and will break in on its own.
What NOT to Do When Breaking In a Glove
Don't: Microwave or Bake It
Heat makes leather softer for a moment, but it also dries it out badly. Once it cools, the glove is more brittle than before, which is the opposite of what you want.
Don't: Leave It in a Hot Car or Direct Sun
Same problem as the oven: heat dries the leather until it cracks and loses its shape, and no amount of conditioning fully brings it back.
Don't: Use Shaving Cream
Barbasol was once a go-to break-in trick because older shaving creams contained lanolin, a natural oil from sheep's wool. Modern formulas replaced it with ingredients such as triethanolamine, sodium lauryl sulfate (a detergent) and propellants like isobutane and propane. These dry leather out and can weaken its fibers.
Don't: Soak It in Water
A little moisture helps, but soaking a glove or using heavy moisture methods can lead to mildew, warping and weakened leather.
Don't: Rush It with Force
Skip quick fixes like forcing the glove into hard folds, running it through machines, or stretching it with sharp or improvised tools. These can tear or puncture the leather and ruin the glove's shape.
Frequently Asked Questions
Can you break in a glove overnight?
No. Safely breaking in a glove takes time and consistent work. Any method that promises an overnight break-in is either not working the leather properly or damaging it.
Can you use shaving cream on a glove?
We don't recommend it. Modern shaving creams no longer contain lanolin, and the detergents and chemicals they do contain dry out and damage leather.
Is heat bad for a glove?
Yes. Heat dries out leather, causing stiffness and brittleness and leaving the glove prone to cracking and breaking.
How long does it take to break in a glove?
It depends on the leather. Softer, lower-grade leather may take a few days; premium steerhide can take several weeks of regular work and play.
The Bottom Line
Every glove is different, and the break-in will vary with the leather and your preferences. Take your time, use the right tools, and avoid shortcuts that promise instant results. Pair a patient break-in with regular conditioning, and your glove will be a trusted companion on the field for years.

Leave a comment
All comments are moderated before being published.
This site is protected by hCaptcha and the hCaptcha Privacy Policy and Terms of Service apply.